
Playing 2 or even 3 games a day makes a weekend tournament into a test of endurance. Being able to defeat weaker players without expending too much energy is a key skill of the seasoned road warrior. I didn’t manage to demonstrate this skill convincingly in either Limburg or Haarlem. My second rounds in particular – lasting 114 moves (draw) and 104 moves (win!) – showed I still had some work to do on that part of my game!
The following game was better: although it lasted 56 moves, I stayed in control all the way through. The game itself features an instructive illustration of some typical techniques for converting a structural advantage into a win.
As always, a playable version of this game is available at http://cloudserver.chessbase.com/MTIyMTYx/replay.html and you can download a pgn at http://cloudserver.chessbase.com/MTIyMTYx/replay.pgn
Keetman,Maaike – Sadler,Matthew D
BPB Limburg Open 2017
22.Qxe5
I recently reviewed Ivan Sokolov’s excellent “Chess Middlegame Strategies: Volume 1”. One of the chapters is a fascinating discussion of this typical pawn structure where White has a 3–2 queenside pawn majority and Black has a 4–3 kingside pawn majority. Ivan proposes several ground rules, and one of his most interesting insights is the value of the advance / break …b6–b5.
On the one hand it exposes Black’s queenside a little and increases White’s opportunity to exchange pawns on the queenside and create a distant passed pawn there. On the other hand, by preventing White from playing c3–c4 / exchanging White’s c-pawn for his b-pawn, Black secures a stable outpost on the valuable square d5, normally for his knight but conceivably also for other pieces (my rook has already tasted the joy of the d5 square in this game!)
Note that Sokolov was mainly examining positions with the c-pawn on c4. By placing his pawn on c3, White can establish a solid central piece structure (the knight on d4) which can prove valuable as support for a kingside demonstration. However, if White doesn’t undertake kingside action, then – though his position remains solid – it is easy to see his position deteriorating slightly due to lack of a plan while Black takes space on the queenside (as in the game).
22…a6 23.Be2 b5 24.Nb3 Na4 25.Rb1
In 3 moves, White’s queenside has been turned from a potential (endgame) strength (currently unrealised) into a (temporary) liability. White’s queenside majority is restricted by Black’s queenside minority while the knight on a4 ties down a higher-value piece (the rook) to the defence on b2. In order to make a start to evicting the knight on a4, White will need to move the knight from b3. Black’s should attempt in the ensuing moves to make this as painful as possible.
25…Qa8 26.Qg3 Be4
Exploiting the weakness of the pawn on b2 to extract a permanent static weakness from White.
27.Bf3 Bxf3 28.Qxf3 Qxf3 29.gxf3
Comparing this position to the situation just 6 moves earlier, you can’t help being happy as Black. However, you always want more! Ideally, I would liked to have gone into this ending with a couple of extra strengthening moves like …g6 and …Kg7, which remove any back-rank mate tricks, take control of f5 (which is often handy to achieve …e5 after Nd4) and allow Black to bring his king quickly into play, particularly after the exchange of the rooks. However, White’s kingside weaknesses aren’t going anywhere so build-up time is not a crucial factor.
The first task in any such ending is to activate the rooks to the maximum degree. In “Chess for Life”, I quoted Petrosian who stated that the biggest difference in activity between the attacking and defending sides is the activity of the rooks. This was his explanation for this gorgeous defensive manoeuvre against Tal at the 1958 Riga tournament:
Given a little time, you could imagine White regrouping his king to the queenside, placing his rooks on the f- and g-files and then pushing his kingside pawns against the Black king. The Black rooks would have nothing to do until the kingside gets opened… when it’s probably too late. Petrosian decided not to wait and start interfering with White’s kingside build-up.
25…Rd6 26.Nb3 Nd7 27.Raa1 Rg6 28.Rf1 Bd6 29.h4 Qd8 30.h5 Rf6 31.Qg4 Rf4
This is not 100% correct, but it’s a much bigger challenge for White than a passive approach. In the ensuing complications, Petrosian outplays Tal and should really have won.
32.Bxf4 exf4 33.Nd2 Ne5 34.Qxf4 Nxc4 35.e5 Nxe5 36.Ne4 h6 37.Rae1 Bb8 38.Rd1 c4 39.d6 Nd3 40.Qg4 Ba7+ 41.Kh1 f5 42.Nf6+ Kh8 43.Qxc4 Nxb2 44.Qxa6 Nxd1 45.Qxa7 Qxd6 46.Qd7 Qxf6 47.Qxd1 Rb8 48.Rf3 Ra8 49.Qe1 Rxa5 50.Qxb4 Re5 51.Qf4 Kh7 52.Kh2 Rd5 53.Rf1 Qg5 54.Qf3 Re5 55.Kg1 Rc5 56.Qf2 Re5 57.Qf3 Ra5 58.Kh2 Kh8 59.Kg1 Ra2 60.Qd5 Rc2 61.Qa8+ Kh7 62.Qf3 Rc1 63.Rxc1 Qxc1+ 64.Kh2 Qc7+ 65.Kh3 Qe5 66.g4 fxg4+ 67.Kxg4 Qg5+ 68.Kh3 Qf6 69.Qe4+ Kg8 70.Qe8+ Qf8 71.Qxf8+ Kxf8 72.Kg4 Kf7 73.Kf5 ½–½
The typical approach in such endings is to deploy rooks so that they are active both along ranks and files. In this way, a rook can both fight for an open file and also switch to the flank(s) at a moment’s notice to create or attack weaknesses there. A good example of this is to be found in my game against Miezis from the 2014 Tromso Olympiad:
26…Rd6
A good post for the rook. It can combine against the d4 pawn with the other rook and can also move to the f-file if required.
27.h3 Red7 28.Rcd1 Kg7 29.Bc4 b5 30.Be2 Rc7 31.Re1 Rf6+ 32.Kg1 Bd5 33.Bd3 Rf4
Making use of the rook’s mobility.
34.Bf1 h5 35.Be2 h4 36.Rf1 Rxf1+ 37.Kxf1 Rc3
Another great outpost: the rook controls the c-file and can also swing over to g3 to attack the pawn on g2.
38.Kf2 Kf6 39.Bd3 Kg5 40.Be2 Kf4 41.Bf1 f6 42.Re2 Be4 43.b4 Ra3
Now the rook can also swing over to the queenside to attack the pawn on a2!
44.Rd2 Bd5 45.Be2 f5 46.Bd1 Rg3
…and over to the kingside.
47.Bf3 Bxf3 48.gxf3 Rxf3+ 49.Kg2 Rg3+ 50.Kh2 Ke3 51.Rd1 Ke2 52.Rb1 Rd3 53.Rg1 Rxd4 54.Rxg6 Rxb4 55.Rxa6 f4 56.Rg6 f3 57.Re6+ Kf2 58.a3 Rb2 59.a4 Re2 60.Rf6 Ke3+ 61.Kg1 Re1+ 62.Kh2 f2 0–1
Finding a multi-purpose post for the rooks is one part, another crucial part is the disposition of Black’s pawns. In order to allow unfettered movement for the rook from the centre to the flank and then back, there can’t be any pawns in the way! That means that Black cannot both advance his pawns to gain space and exploit the superior activity of his rook. In this game (against Keetman), that means that if I am to use the 5th rank to swing my rook from the centre to the kingside, I can’t play …e5 too early… which also means that I have to watch out for Nd4 from White all the time. In the game against Miezis, I spent a long time agonising about the move 25…g6. I felt I needed to get my king involved – as occurred in the game – but 25…g6 does of course deny access to the rook on d6 to the 3rd rank squares g6 and h6. In the end, I decided that f6 was all I needed (to annoy the White king and potentially get to f4) but it took me a while to figure that out!
29…Rd3 30.Re3 Rfd8 31.Kf1 g6
I was a little unsure about the optimal way to involve my king in the game. In general, you might feel that bringing the king closer to the queenside with …Kf8–e7 might be useful in preparation for any knight endgames (if White were to attempt to swap off both rooks and give up the b2 pawn for counterplay against Black’s queenside with king and knight). However, in the sample lines I was calculating, the Black king ended up being a target when White’s knight came to d4 (sometimes with Nxe6+ desperadoes, sometimes with Nc6 forks) so I decided to activate my king via g7–f6.]
32.Ke2
32.Rxd3 Rxd3 33.Ke2 Rd5 34.Rd1 Re5+ followed by …Nxb2.
32…R3d5
Deploying the rook to the 5th rank and threatening …Rh5 attacking h2.
33.f4
To meet …Rh5 with h3
33.Nd4 Rh5
33…R8d7
A very careful move.
33…Kg7 34.Nd4 b4 35.Nc6 Annoyed me: 35…Rd2+ (35…R8d6 36.Nxb4 Rd2+ 37.Ke1 a5 (37…Rxb2 38.Rxb2 Nxb2 is the best when Black is still better, but at least White has managed to exchange his weakness without losing a pawn) 38.Nc6) 36.Ke1 R8d6 37.cxb4
34.Re5
34.Nd4 b4 is now possible, creating another weakness with the knight and rooks well-placed to line up on the c3 pawn
34…Kg7 35.Kf3
White was very short of time which led to this tactical mistake.
35…Rd3+ 36.Re3 Rd1 37.Re1 Rxe1 38.Rxe1 Nxb2 39.Nc5 Rd6
The rest of the game is just a matter of keeping an eye on White’s breaks and improving Black’s position.
40.Re2 Nc4 41.Rc2 a5 42.Nb3 Kf6 43.a4 bxa4 44.Nd4 a3 45.Ra2 Rb6 46.Ne2 Rb2 47.Nc1 Kf5 48.Ra1 f6 49.Ne2 e5 50.fxe5 fxe5 51.Nc1 e4+ 52.Kg3 g5 53.Ra2 h5 54.h4 gxh4+ 55.Kxh4 Rxa2 56.Nxa2 Kf4
0–1
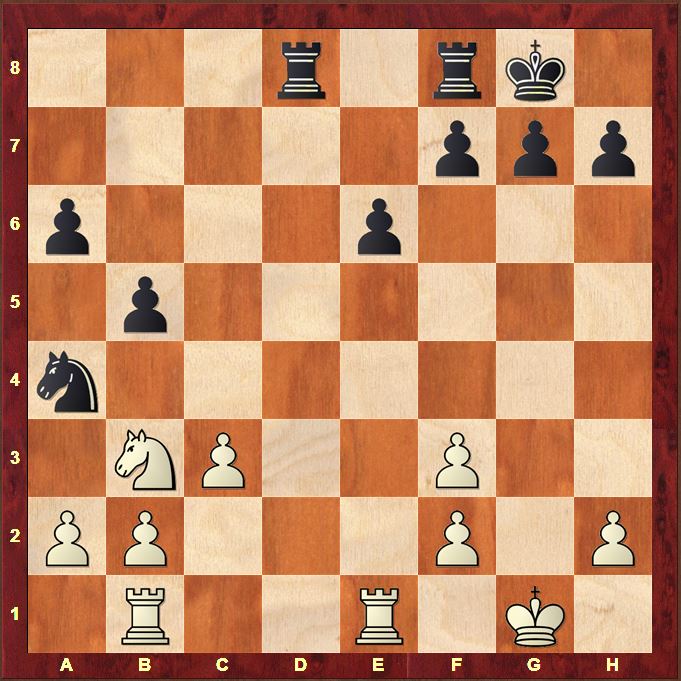
Postscript
Steve Giddins pointed out a certain resemblance to the classic game Alapin-Rubinstein Prague 1908. The position after move 24 does show some very similar features.
Here the knight on b3 is prevented from moving by Black’s pressure on the d-file and the need to cover the d2 square.
Quite a strong resemblance to the classic game Alapin-Rubinstein, Prague 1908! Same Na4, and control of d-file. Alapin’s kingside pawns were not split, so Rubinstein’s task was harder, though.
Hey Steve, yes indeed! I’ll paste the position after move 24 into the article! Thanks!
Very illuminating post! Thanks for sharing.
Minor point, but it seems the game is not available in the re-playable board link as usual.
Hi Stephen, thanks for the comment and you’re absolutely right! Corrected now! Best Wishes, Matthew